Today we’ve popped up one easy idea—colourful coasters made from old magazines. They’re a fun way to turn paper into pattern, build fine‑motor skills, and feel good about upcycling. But this is just a spark—we’re excited to see what you really create. Maybe you weave bookmarks, make funky art panels, or coil a rainbow plate—go wherever your imagination takes you!
Whether you follow our coaster tutorial or choose a completely different direction—we absolutely love to see your own creative take. Every version counts!
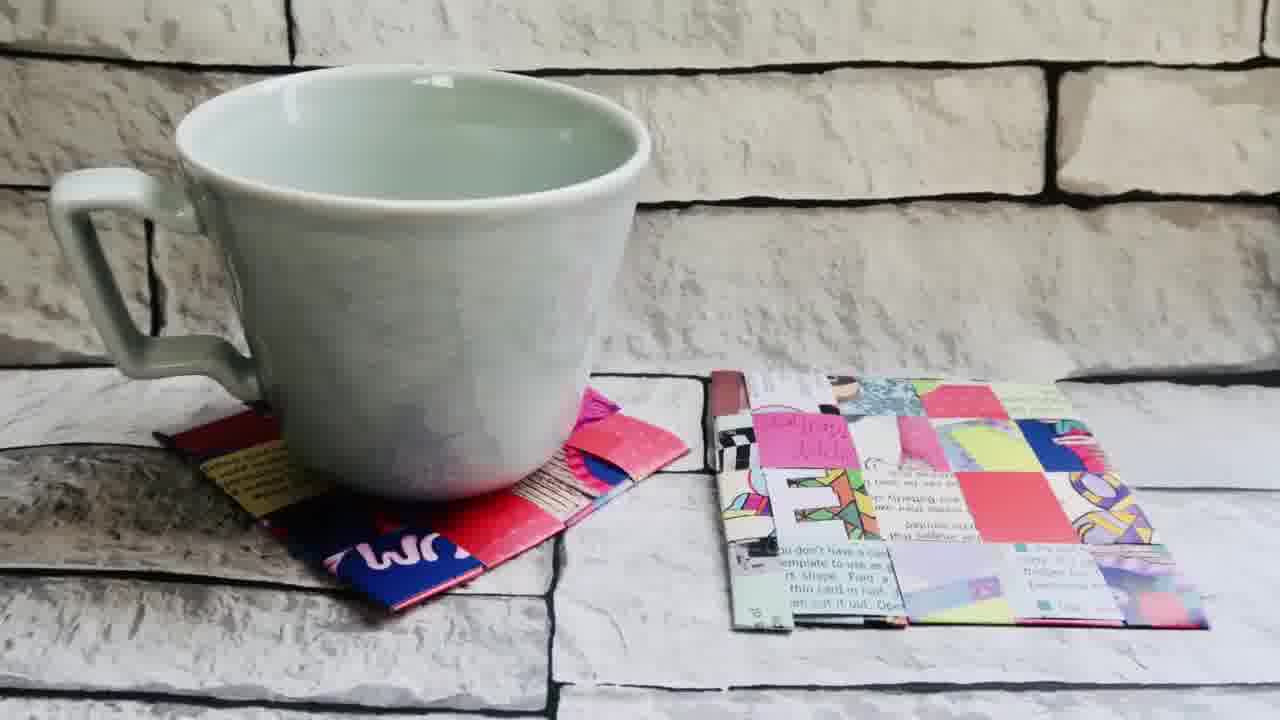
Why We Love Recycled Magazine Coasters
Have you ever wondered what to do with those old magazines piling up at home? Instead of tossing them in the bin, why not turn them into something useful and beautiful? These coasters are vibrant, personalised, and surprisingly sturdy. Plus, once they’ve had their day, you can pop them straight back into the recycling. It’s creativity with a conscience!
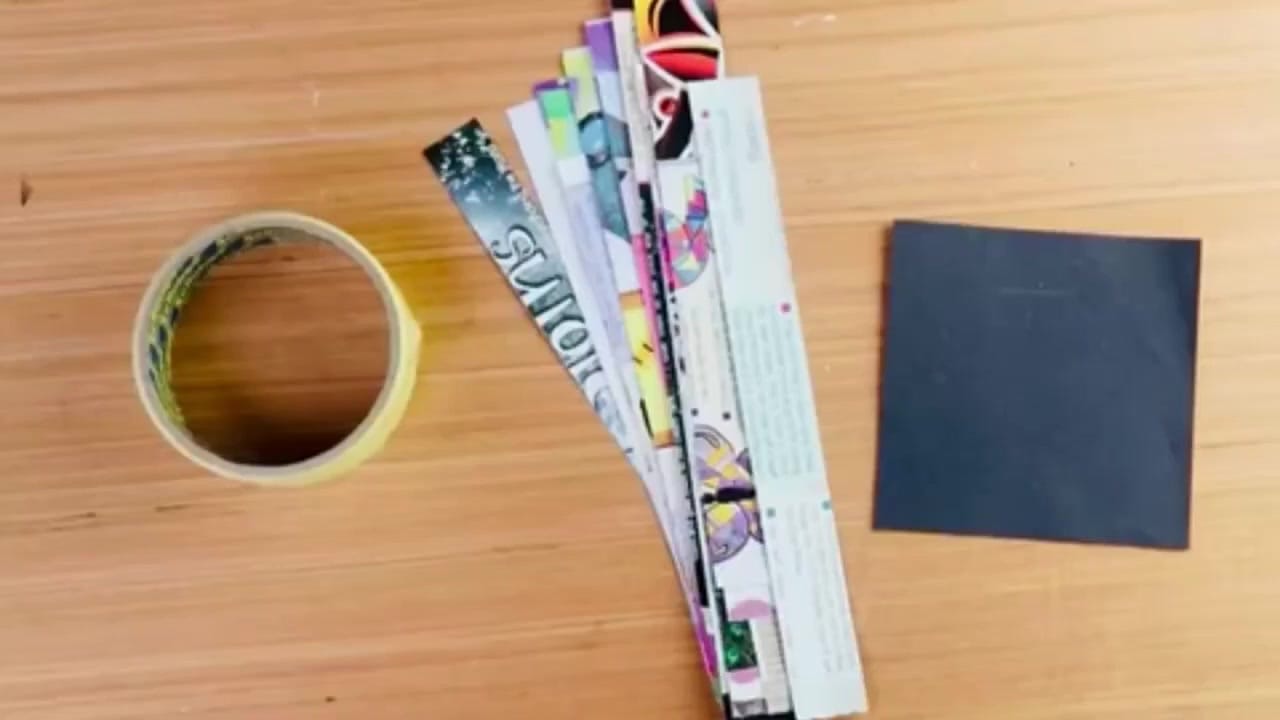
What You’ll Need:
Old magazines (the more colourful, the better!)
A square piece of card, around 10cm x 10cm (this will be your base)
Clear tape
Scissors or a paper trimmer
If you collect magazines with a mix of pictures and text, your coasters will have a wonderful variety of colours and textures, making each one unique.
How to Make Your Magazine Coaster
Step 1: Cut your magazine pages into strips.
Cut strips approximately 1.5cm wide by 14cm long. Don’t worry about being too exact — a little variation adds charm!
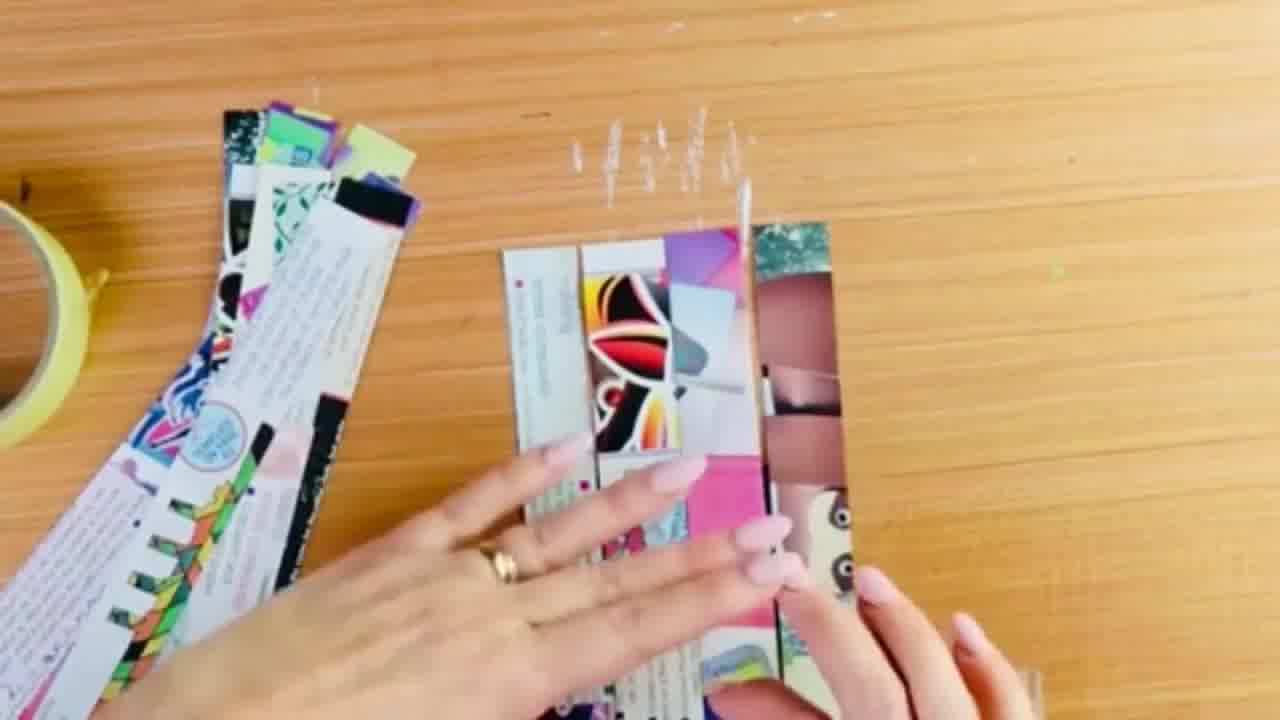
Step 2: Lay the strips across your cardboard base.
Place a few strips horizontally across your 10cm x 10cm card, leaving about 2cm of the strip on the card. Use clear tape to secure them, making sure there are no gaps between the strips.
Step 3: Fold the strips over the back of the cardboard.
Turn the coaster over carefully, then fold the paper strips down the back side and tape them securely. This gives your coaster a neat, tidy edge.
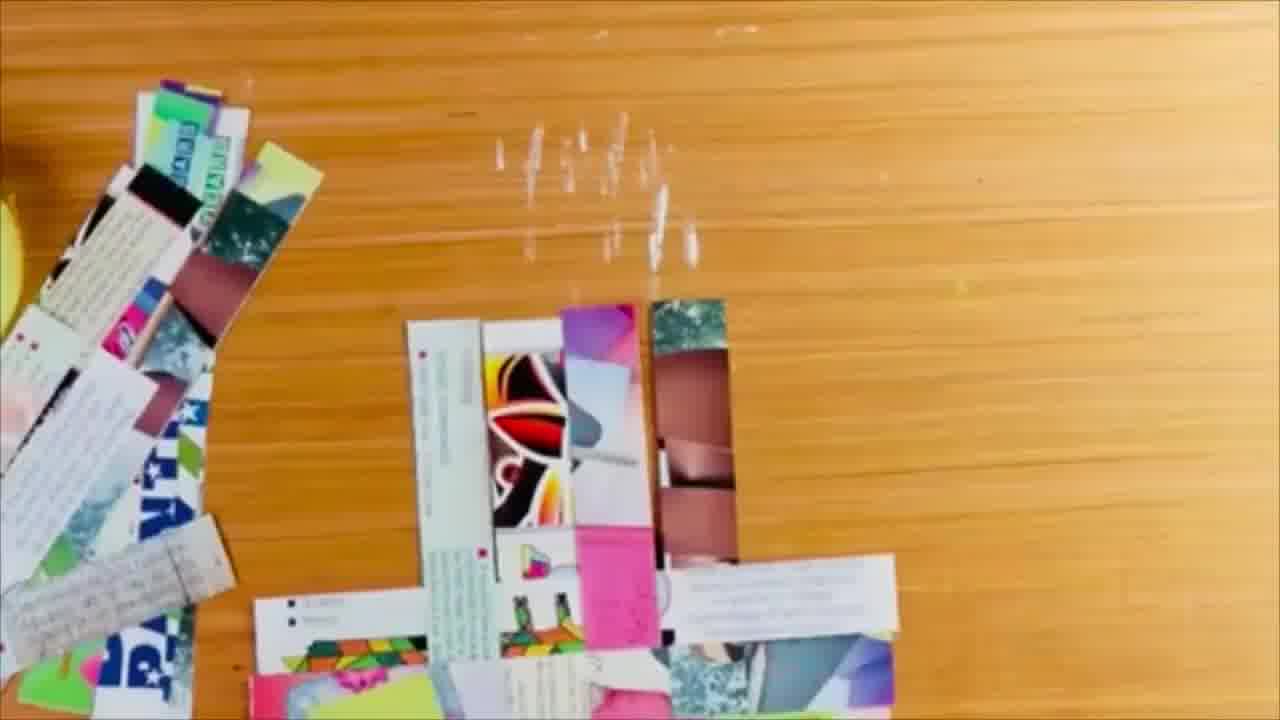
Step 4: Start weaving!
Now take other strips of magazine paper and weave them vertically through the horizontal strips on the front. Push the strips tightly together to keep your coaster strong and solid. This weaving process is a fantastic way to develop fine motor skills, especially for little fingers!
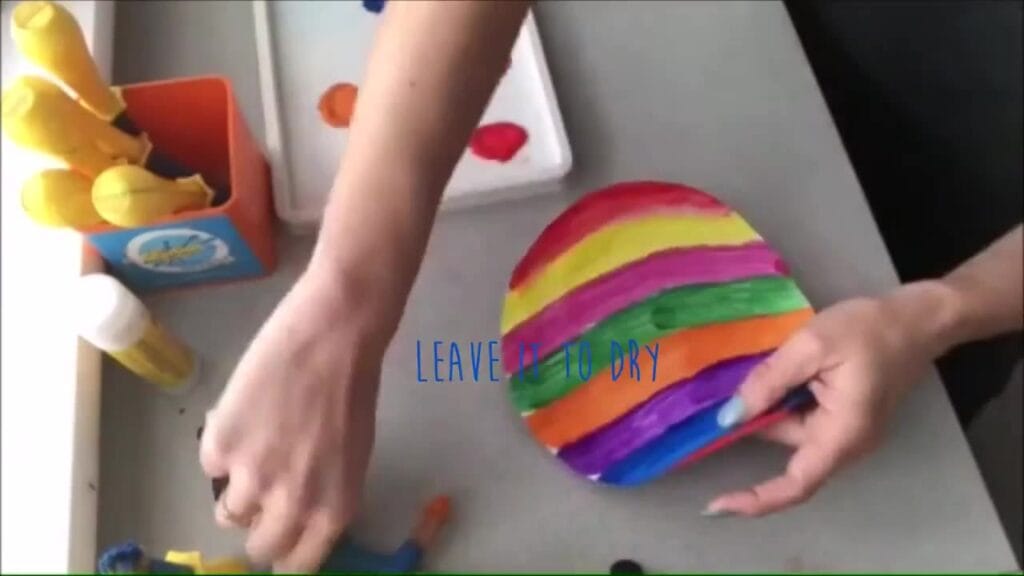
Step 5: Secure the ends.
Once your weaving is complete and the coaster looks full, turn it over. Fold all the loose ends tightly over the back and tape them down securely. This locks everything in place.
Tips for Success
Use magazines with a variety of colours and patterns for a more interesting coaster.
Make sure your strips are taped firmly to avoid gaps or loose ends.
If the strips are a bit stiff, gently rolling them with your fingers before weaving can make it easier to work with.
This activity is a wonderful opportunity to chat with kids about recycling and upcycling — helping them understand how creative reusing can be!
Why This Challenge Is Great for Kids
This craft isn’t just about making something pretty; it’s about learning and developing too. Weaving paper strips helps children improve their hand-eye coordination and concentration. It’s a screen-free activity that encourages patience and creativity. Plus, kids love seeing their work turn into something practical they can use daily!
📷 We really want to see your take
Grab your photos, share them on our Day 5 social post on Facebook, Instagram, or TikTok, and pop them into the comments—we’ll choose entries for a £100 craft-hamper giveaway.
Whether you’re upcycling coasters or crafting a one-of-a-kind coaster‑inspired design, your version is the version we want to see.
Enjoy rolling, weaving, gluing (or not)—but most of all, let your imagination take the lead. What will you craft today?
🎥 Want more crafty how-tos? Head over to our YouTube Channel and click Subscribe to get even more inspiration!